

Look comparison
Before you
commit.
Source and result, side by side.
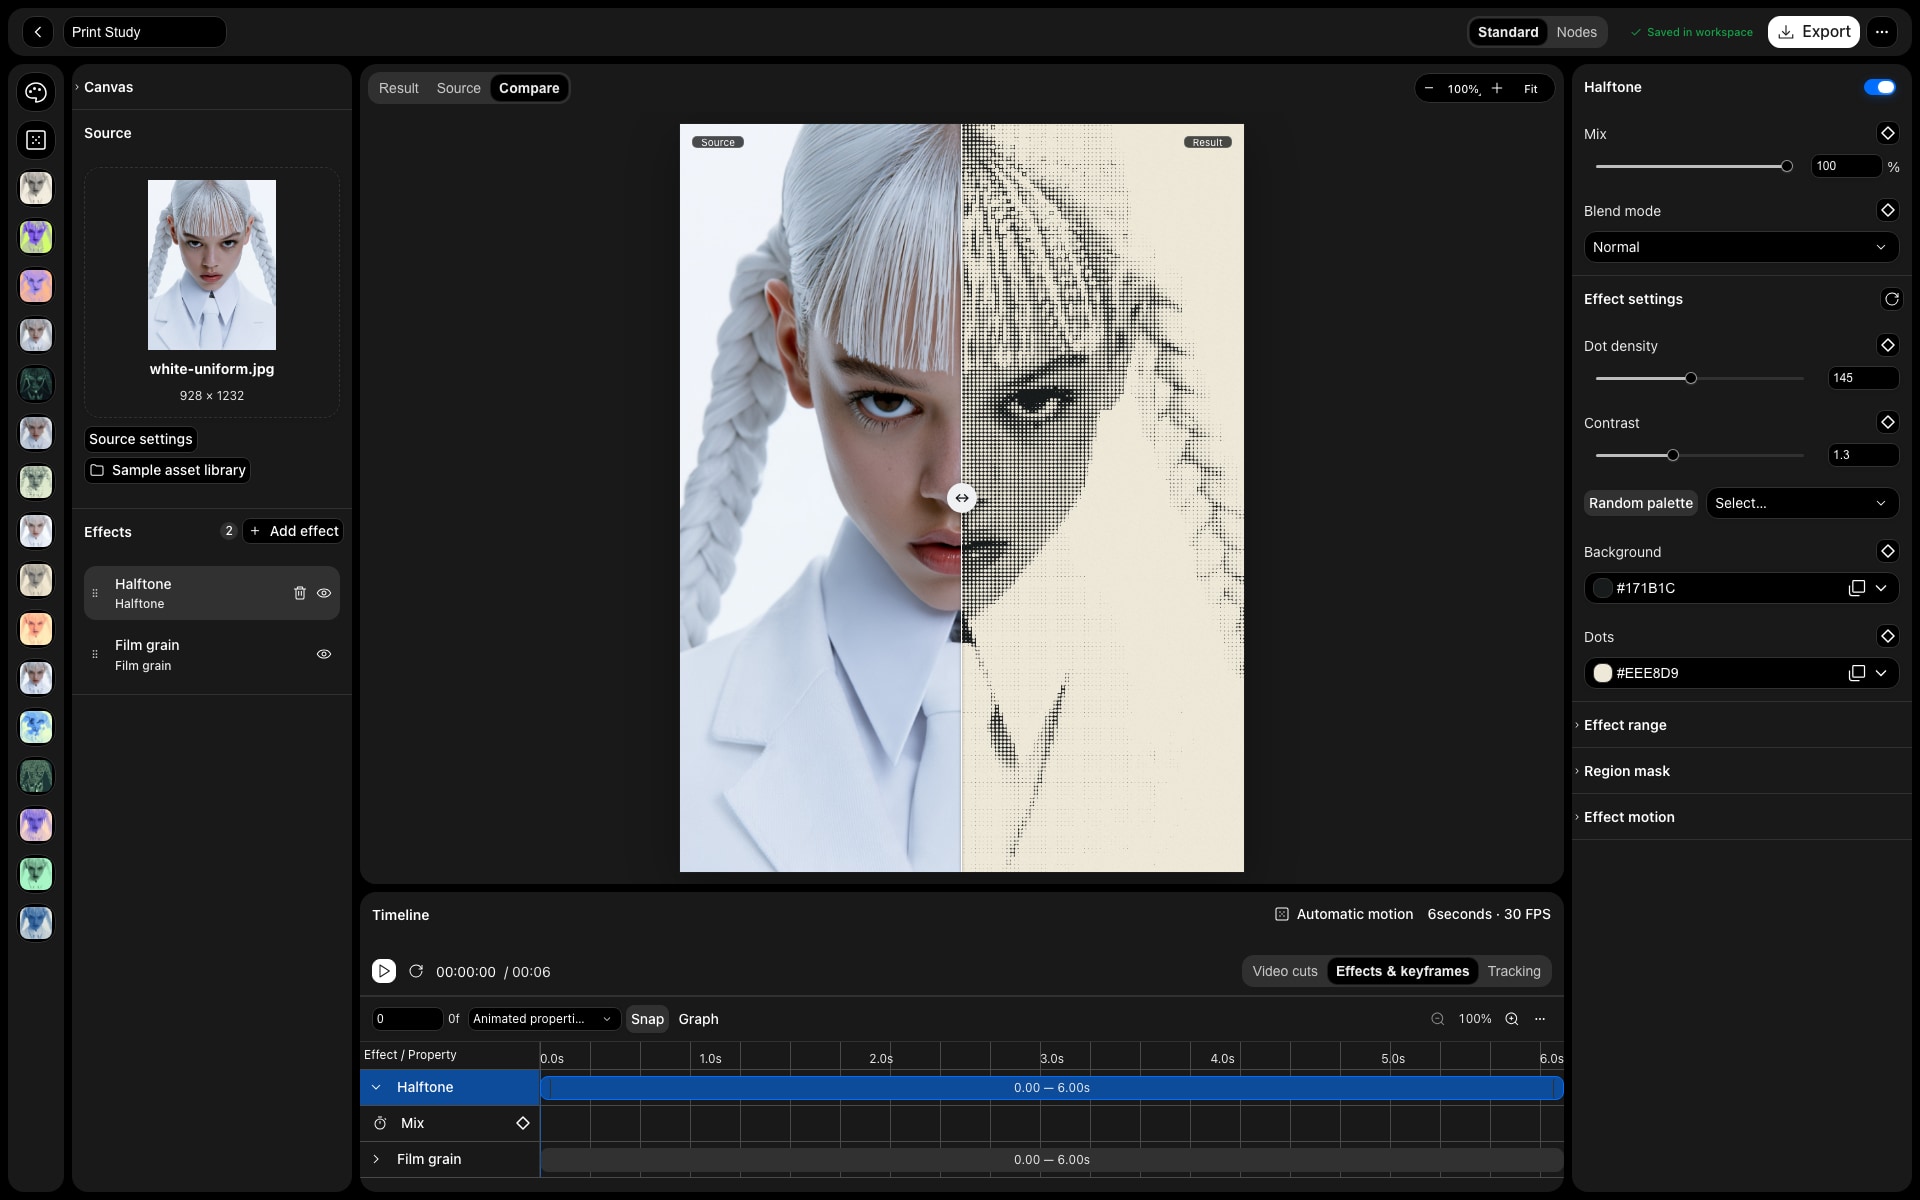
Split view
Drag to compare at any frame.
Four looks
Line up variations on one source.
Non-destructive
The original project stays untouched.
In practice
See the difference.
Choose the look.
A treatment can look convincing on its own and still lose the detail you wanted to keep. Compare the source with the result, or review up to four candidate looks on the same source before applying your choice.
The workflow
Three steps.
Your direction.
- 01
Use the same source
Open a project and choose candidate preset combinations. Compare treatments without introducing a different image for each option.
- 02
Inspect the details
Use source/result split viewing and a shared comparison moment to check texture, contrast and the parts of the image that matter.
- 03
Apply a decision
Choose the preferred look when you are ready. The comparison preview does not change the original project before you apply it.
Made for
Put it
to work.
Client directions
Review several visual directions from a consistent source instead of judging unrelated mockups.
Protecting fine detail
Check whether a strong print, glass or colour treatment has hidden important edges and small forms.
A deliberate final pass
Compare subtle variations before committing to a high-resolution image or motion output.
Good to know